Intro
Before I get into the material of this post I want to refer you to an article written last week by Sal Soghoian, click here. The information that he provides regarding user automation is exactly what makes the process described in this post possible.
In case you are not aware, Zendesk is a web-based helpdesk application that is cloud hosted and quite popular. They have an email API that allows agents to create a ticket with a simple email. The power behind this API starts to show when you are an agent that happens to get many emails that could be tickets. cough.
Now with that out of the way let’s look at some automation for Zendesk.
Automator
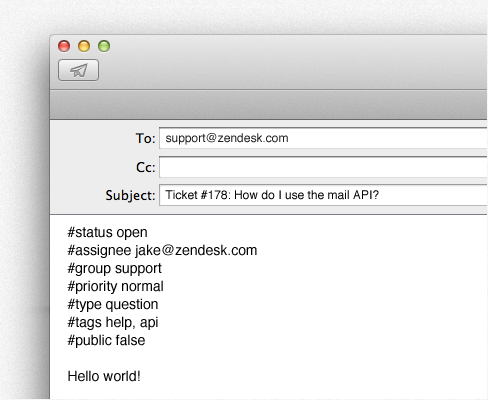
Zendesk has a great article on Updating Ticket Properties from You Inbox that gives an overview of what the mail API does and how it works. This post will extend on the API to help automate the process. We are going to use an Automator service to type all of the metadata fields. It should be noted that this process will work in Outlook and Apple Mail for macOS. An example of the output can be seen below:
You can download a template service from github.com/clburlison/automator_services.
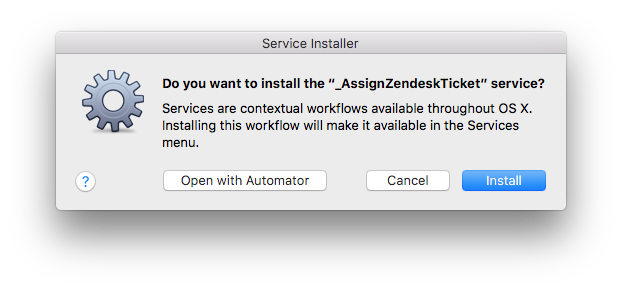
Unzip the archive file and double-click on the
_AssignZendeskTicket.workflowfile.When you see the following popup select “Open in Automator”
You will see the following AppleScript action:
on run {input, parameters}
tell application "System Events"
  keystroke "[email protected]"
  keystroke tab
  keystroke tab
  keystroke tab
  keystroke tab
  #keystroke "#requester"
  #keystroke space
  #keystroke return
  keystroke "#assignee [email protected]"
  keystroke return
  keystroke "#location Some location"
  keystroke return
  keystroke "#group IT Staff"
  keystroke return
  keystroke "#status open"
  keystroke return
  keystroke "#priority normal"
  keystroke return
  keystroke "#type incident"
  keystroke return
  keystroke "#public false"
  keystroke return
  #keystroke return
  #keystroke "Hi ___ENTER_NAME_HERE,"
  #keystroke return
  #keystroke return
  #keystroke "MESSAGE_HERE."
  #keystroke return
  keystroke return
end tell
end run
You will want to modify many of the lines to match your location, group, default status, etc.
- Notice that I have the
#requestermetadata field commented out with a hash (#), this is due to a Zendesk setting that we have enabled (you might need to uncomment this) - I also have a few additional lines at the end for comments if you want to add to the ticket on creation.
- Lastly, I have four (4)
keystroke tablines this is due to me enabling the “Bcc” field so delete one of the tabs if you don’t have this enabled.
Once you have made all the changes that you want you will want to save and close the file.
Now double click on the
_AssignZendeskTicket.workflowfile once again, this time selecting “Install”
After the service has been installed the workflow will be copied to ~/Library/Services/. In case you need to locate the service to make changes in the future.
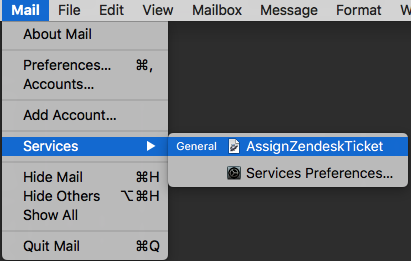
To use the service start a new email (or forward an existing email) in Apple Mail or Outlook. Go to the application name in the menu bar » Services » select AssignZendeskTicket.
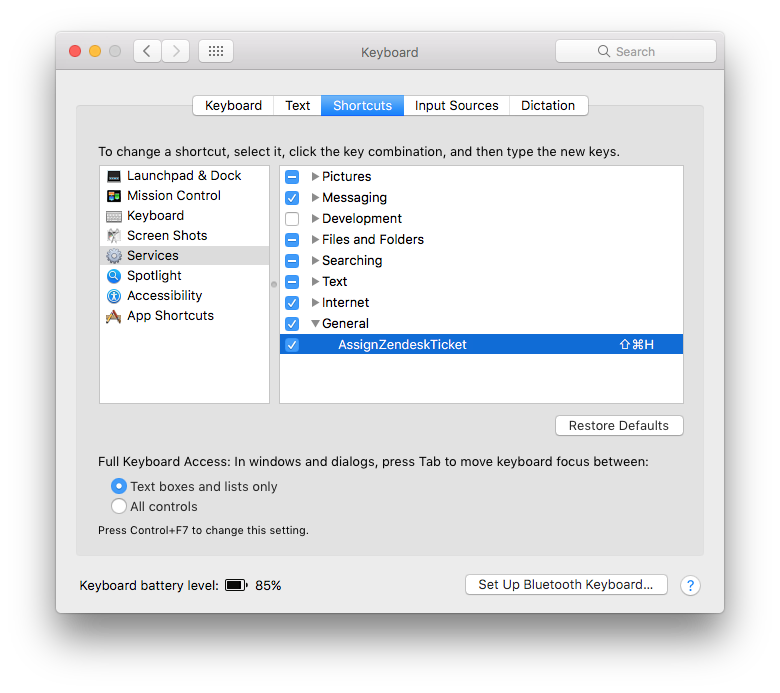
If you wish to add a keyboard shortcut
- Open System Preferences
- Go to Keyboard » Shortcuts » Services
- Now assign your service a keyboard shortcut. I used Command + Option + H (⌘ + ⌥ + H)
Resources:
Updating Ticket Properties from You Inbox,
Automatically Inserting Text Globally,
applescript-simulating-enter-key,
Complete list of AppleScript key codes,
OS X Mavericks: Create keyboard shortcuts for apps