We all know about file security but how many of our users take the time to properly protect their data? Sure you can make policy but unless someone documents the expectations, reasons, and how to do it, many users will simply ignore policy. How about personal files, we all store data on our computers that we know should be protect but how? Well luckily Apple has a very simple solution to the problem explained above.
What to secure
First, you can secure whatever files your heart desires: bank statements, work files, photos, passwords, etc. Pretty much anything you want, though fair-warning this is not a backup solution and if you forget your encryption password it will make accessing those files quite difficult.
We secure files to limit access. This will help protect you in case your laptop gets stolen or maybe it just gets physically accessed by someone you know. This method will use a 256-bit AES encryption algorithm to secure your data. That being said if you use a simple password, cough password cough, then it is quite simple for someone to brute force hack that password and have access to your data.
Disclaimer: Nothing is 100% secure. This method is just another step that can help make it harder for someone to obtain your information. With enough time the right person could access these files but your average Joe is going to have a darn hard time.
Creating an encrypted DMG
Step 1 - Open Disk Utility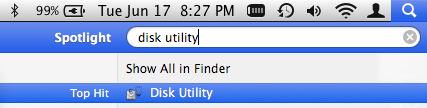
Step 2 - Create a Blank Disk Image…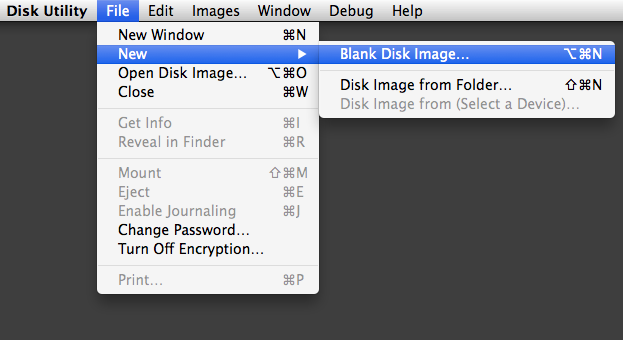
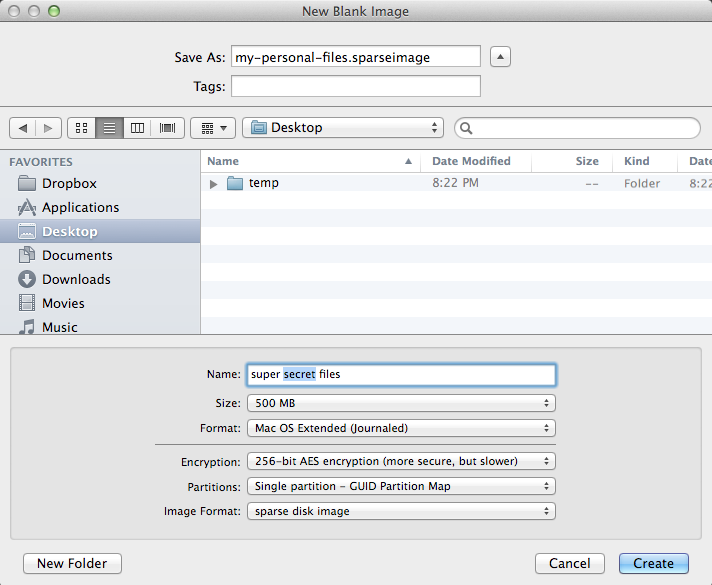
Step 3 - Name your new dmg. Note the values shown are important.
- Name: the mounted disk image name
- Size: depends on your data needs
- Format: the default
Mac OS Extended (Journaled)should be fine for most needs - Encryption: use 256-bit AES unless you have a solid reason to not
- Partitions: using
Single partition - GUID Partition Mapis a standard that is compatible with most Macs - Image Format: using
sparse disk imagewill save space on your hard drive and only use the disk space needed by the dmg
Step 4 - Here you want to type a secure password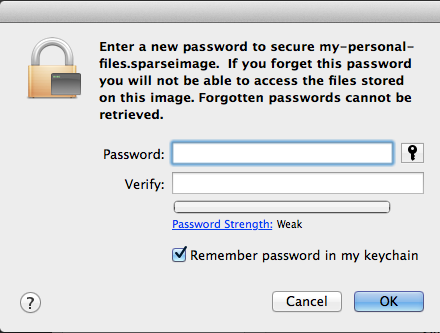
Step 5 - If you click the key icon OS X will help you create a secure password using the Password Assistant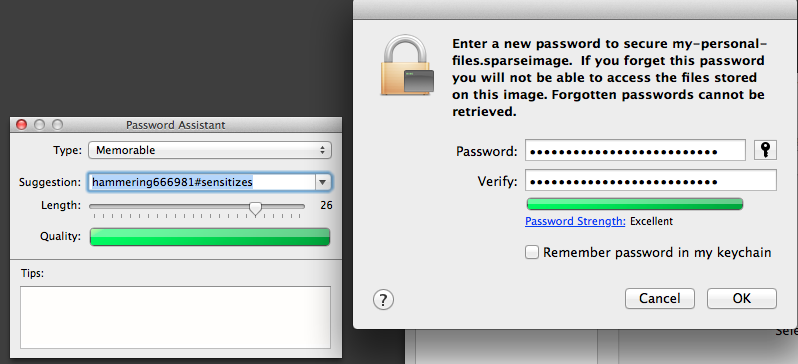
Step 6 - Note the file names. This is your encrypted dmg. You can store files here just like a flash drive.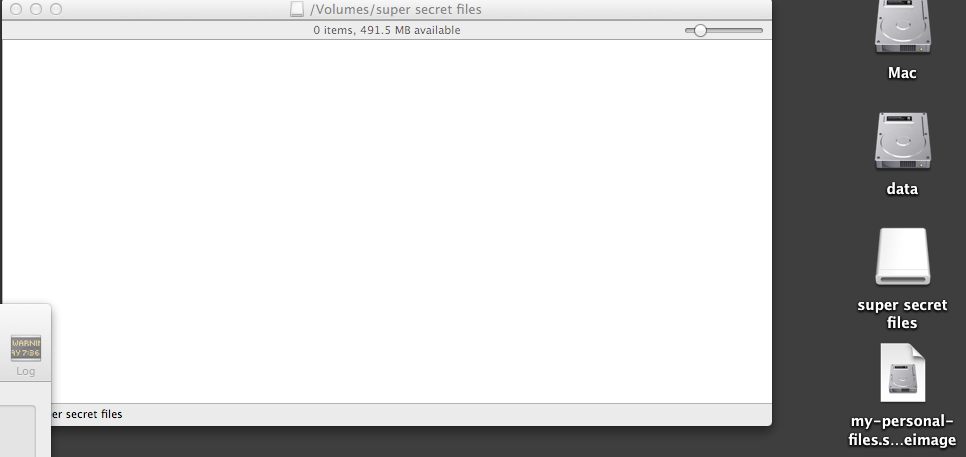
Step 7 - If you eject your dmg you will be presented with this pop-up the next time you try to open the dmg. Type your encryption password to unlock the dmg.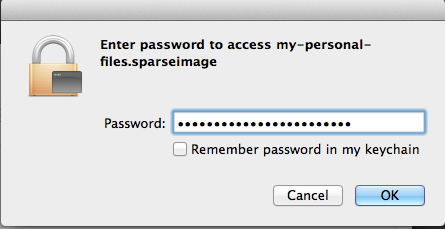
Video showing the process
Conclusion
Creating an encrypted dmg is quite easy once you know the steps. My preference is to not store the password in your Keychain. If you are logged into your machine another users could walk right up and open the dmg without typing a password.